A Painting Invoice template serves as a starting point for billing painting clients. It specifies the painting services you provided and what your customer owes. Stating the basic facts of the transaction confirms your status as a professional and helps you to get paid.
Whether for indoor or outdoor painting, artists and painting contractors benefit from having a consistent invoice they can tailor for each customer. Using a template ensures you’ve included each invoice component and saves time so you can focus on what you do best.
A quality painting invoice provides clear, concise information so the customer knows how much they owe, what is included in the price, how to pay, and what will happen if they do not pay.
A painting invoice should provide the following information:
To create a painting invoice, follow these steps:
Ensure consistency and streamline your invoice process by downloading a free painting invoice template. Format your template to include the painting service provider’s information on every invoice, whether you are an individual painting contractor or part of a company.
Add the name, address, phone number, and email of the customer receiving painting services. Invoices often go to a different person or department within a customer’s organization. Be sure to address the invoice to the correct party, whether the financial department, accounts payable, or a specific individual.
Your invoice should state the painting project’s address, number, name, or other identifying information. Detail is critical for managing customer expectations and receiving prompt payment. To avoid miscommunication, complete a detailed scope of work in the initial painting contract or subcontract before you begin work.
While your project will be fully detailed in the contract, your invoice should also provide a clear description so the customer can identify the painting services provided. For example, if you painted an interior bathroom on the second floor, indicate where the bathroom is located and what you painted in the room.
If your project is a lump sum agreement, you can indicate the total for the project. However, if you are on a time-and-materials contract, you should indicate the hours worked, hourly rate, materials used, and other expenses incurred during the painting project. Consider including time sheets and receipts for materials and expenses to substantiate your charges.
Indicate the date or time frame in which payment is due. Be sure to indicate how the customer can pay by check, money order, online portal, or payment app. Provide an address for mailed payments if necessary. Indicate whether there will be penalties for late payments, including late fees, interest, and lien notices.
Once you receive payment, your customer may request a lien waiver, which assures them that you will not file a lien against the property.
Your invoice date is the basis for billing calculations, including the due date, late fees, and interest. Without an invoice date, your client may not know when they should pay. An unscrupulous client may use it as an excuse to delay payment indefinitely.
Invoice numbers let you track your invoicing to ensure payment. They also allow the customer’s accounts payable department to keep track of payments on their end. Some companies will not accept a painting invoice without an invoice number to reference.
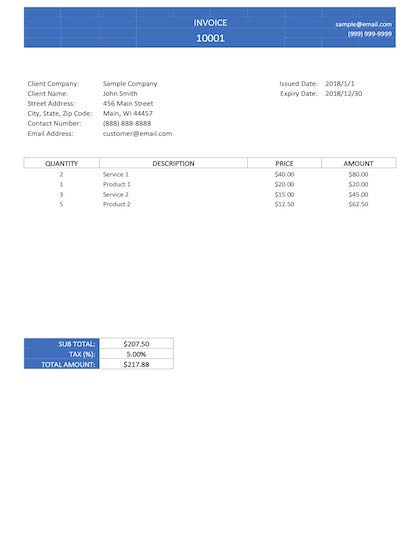
Below, you can download a painting invoice template in Excel or Word format:
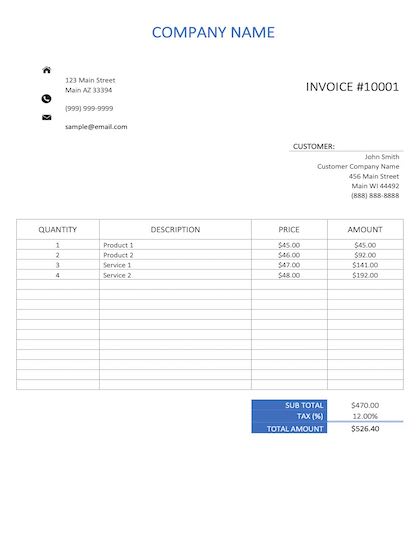

Create a Painting Invoice here!